
Reviewed · GUIDED
Iztaccihuatl Guided Climb
A volcano hike with views that keep on giving. This one-day Iztaccihuatl climb turns a big name on the map into a real, step-by-step mountain day, with professional guidance and nonstop scenery. I love that you get panoramic lookouts over Iztaccihuatl’s ridges and the surrounding valleys, and I also like the fact that the route is built around key passes and a high-altitude destination, so the payoff keeps arriving in chunks.
Just keep your expectations honest: the climb is steep with real exposure, and altitude can hit hard. One guide style is patient and supportive, but if you are sensitive to heights or have breathing or heart issues, you should think twice.
In This Review
- Key things I’d prioritize before you go
- Price and Value, Is $214 Fair for a One-Day Volcano?
- Getting There From Mercado Michoacán, Then Into the National Park
- First Views and Pass Moments, Where Popocatépetl Steals the Show
- The Scree Slope and the Third Pass, Plus the Big “Time to Turn” Choice
- Lunch Inside the Park, and Why Regional Food Beats a Random Snack
- The Goal at 4,720 Meters, and What the “100 Hut” Finish Really Means
- Guide Support, Small Groups, and Names Like Alberto and Sergio
- What to Pack, and the Stuff That Prevents a Miserable Descent
- Altitude Reality Check, Steep Exposure, and Who Should Skip
- Bathrooms and the Small Comfort Details People Forget
- Final Thoughts, Should You Book This Iztaccihuatl Guided Climb?
- FAQ
- Where is the meeting point for the Iztaccihuatl climb?
- How long is the tour and what is the travel time like?
- How much does it cost, and what’s included in that price?
- Are alcohol drinks included?
- What languages are the guide tours offered in?
- What should I bring for the climb?
- Is this tour suitable for everyone?
Key things I’d prioritize before you go
- Panoramic volcano viewpoints: you’ll see multiple volcanoes and valleys from different sides of the mountain.
- Guided safety and pacing: a professional guide helps you manage steep sections and altitude.
- Route design with passes: the day is paced around reaching major portillos, not just grinding upward.
- Small group size: limited to 15 participants, which helps you move and regroup smoothly.
- Technical equipment included: you’re not showing up to improvise on rocky terrain.
- High-altitude finish goal: you’re aiming for the 100 Hut area at 4,720 meters, not a casual walk.
Price and Value, Is $214 Fair for a One-Day Volcano?
At $214 per person for a one-day guided climb, the value comes down to what’s included and how much support you get. You’re not just paying for a route and a view. You’re also paying for transportation to the national park area, entrance or mountain fees, a guide, technical gear, insurance, lunch, and even a loan of a backpack.
That matters because volcano days have a habit of turning into extra costs. If you had to rent gear, arrange private transport, or buy insurance, the number can climb quickly. Here, the package is trying to cover the practical stuff so you can focus on hiking, photos, and pacing.
Where the math gets especially relevant is the guide component. With steep, exposed terrain and meaningful altitude, having a guide isn’t a luxury. It’s risk management, plus it makes the hike more interesting because you’re learning what you’re looking at, not just staring at your shoes.
Backup plans for Mexico City
- Teotihuacan, Guadalupe Shrine & Tlatelolco Day Tour with Lunch
★ 5.0 · 11,603 reviews - Xochimilco, Coyoacan and Frida Kahlo with Optional Lunch
★ 4.5 · 7,320 reviews - Balloon flight + Breakfast in cave + Pyramids + Pick up CDMX.
★ 5.0 · 6,335 reviews
Getting There From Mercado Michoacán, Then Into the National Park
The day starts at Mercado Michoacán, at the corner of Vicente Suarez and Michoacan, where you meet at benches in front of the market. Expect a full-day rhythm, with van time both ways, so you are not stuck waiting around at trailhead level.
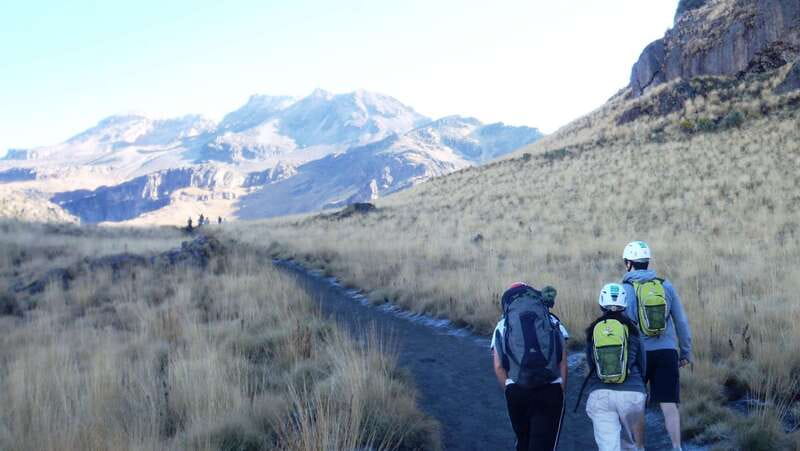
You’ll ride by van for about 2 hours before you begin hiking, then the main hiking block runs around 7.5 hours, and lunch happens inside the Iztaccihuatl-Popocatépetl National Park for about 1 hour. After that, you ride back to the meeting point with another 2 hours in the van.
This timing structure is a big deal for your comfort. You get a slower start by road, then the hike portion stays long enough to feel like you did something real, but the group is managed so you can turn back before daylight becomes an issue. In practice, that means the “how far you get” depends on pace and conditions, which is where good guiding comes in.
First Views and Pass Moments, Where Popocatépetl Steals the Show
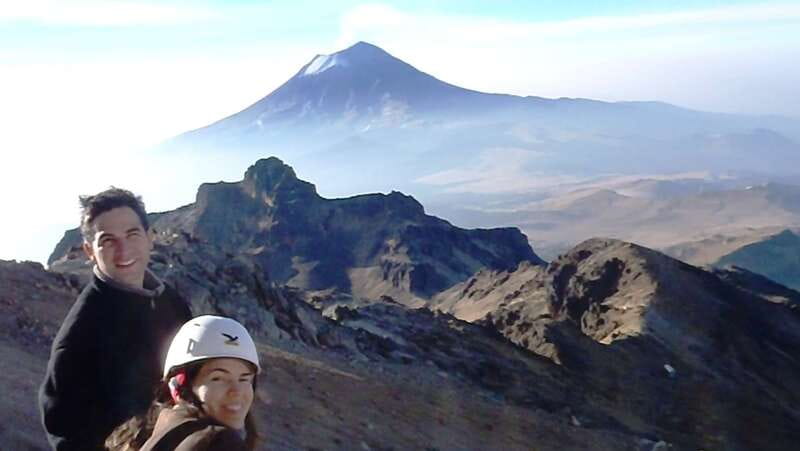
Once you’re on the mountain, the climb begins with a first pass and a switch in perspective. This is where the route becomes more than effort. You arrive at the pass, then head over to the other side of the mountain and take in views of Popocatépetl.
This is one of the highlights for a reason. Volcano terrain often feels repetitive if all you do is climb in one direction and stare forward. By building in a pass change early, the hike gives you fresh angles. You start to understand the mountain as terrain, not just height.
You’ll also get scenic views along the way to the hiking area, plus a photo stop. That sounds basic, but on high mountains it helps your brain reset. When you can see the valley and the next ridgeline, you’re better able to judge effort and keep your breathing steady.
If you get motion-sensitive, manage it early. You are doing van travel and then switching into steep terrain relatively quickly, so keep water and your breathing rhythm in mind from the start.
The Scree Slope and the Third Pass, Plus the Big “Time to Turn” Choice
After the early views, the climb continues toward a scree slope. Scree is not just “rocky.” It changes the way you step because the ground can shift underfoot. A guide helps here by choosing lines that are safer and easier on your calves.
Then you reach the third pass, where you pass again to the other side of the mountain. This second side-switch is the moment where the view list gets serious: you’re able to look toward the city of Puebla and see Pico de Orizaba in the distance, the highest point in Mexico.
Now comes the practical consideration that makes this tour feel well-run. The plan aims high, but you must make a smart return decision. Reviews and route structure both point to one truth: if you push too late, you risk losing daylight on the way back. So you’ll often turn around at a point that balances altitude goals with safety.
If you tend to feel that adrenaline will carry you through, don’t rely on it. Altitude can reduce your stamina fast. It’s better to be turned around by plan than forced to speed downhill.
Close by, worth a second look:
- Teotihuacan pyramids morning or afternoon without tourist traps
★ 5.0 · 6,186 reviews - Teotihuacan Early Access Guided Tour with optional Lunch
★ 4.5 · 6,138 reviews - Balloon flight + pick up in CDMX + Breakfast in Cave + Pyramids
★ 5.0 · 5,651 reviews - Mexico City: Teotihuacan & Guadalupe Shrine Tour with Lunch
★ 4.7 · 4,465 reviews
Lunch Inside the Park, and Why Regional Food Beats a Random Snack
Lunch is scheduled inside the national park area, with regional food for about 1 hour. On a volcano day, an actual sit-down lunch is not a small detail. It’s where you recover enough to keep descending and still enjoy the last stretch.
You also avoid the common issue of hiking all morning and then grabbing something you barely can eat with limited time. Here, lunch is part of the flow, so you can eat, hydrate, and then move with less panic and fewer stomach problems.
That said, don’t go heavy on expectations like it will feel like a restaurant meal. You are still in outdoors conditions. Eat what you can handle comfortably and keep sipping water.
Some people also pick up a bonus on the return portion, such as a stop for local tacos. It’s not the same as the park lunch, but it can turn the day into something memorable beyond the altitude and views.
The Goal at 4,720 Meters, and What the “100 Hut” Finish Really Means
The route’s destination is the 100 Hut area at 4,720 meters above sea level. That’s a serious altitude number, and it changes how the day feels.
At this height, you’ll likely notice slower breathing, heavier legs, and a need to take micro-breaks even if you are trying to push. This is exactly where the guide style matters. The best outcomes are not always about speed. They’re about steady pacing and smart stops.
You should also understand what reaching the hut means for you. It’s not a summit victory lap where you instantly feel amazing and stay there. It’s a high-altitude turnaround point, and the challenge continues on the way back.
One more practical note: the higher you go, the more your comfort depends on sun and wind. Even if you don’t feel that cold at the start, conditions can tighten as you climb. That’s why rain gear and warm layers are on your packing list.
Guide Support, Small Groups, and Names Like Alberto and Sergio
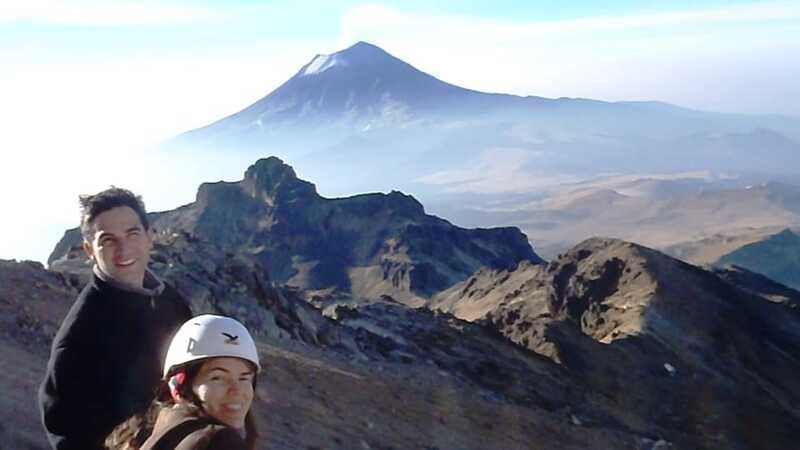
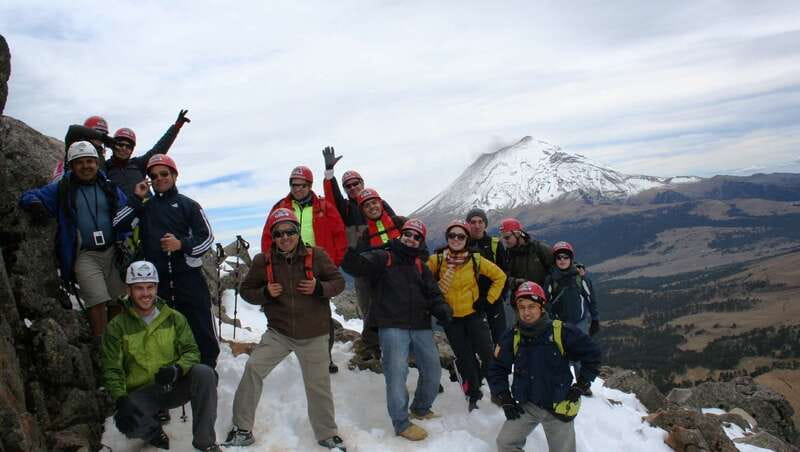
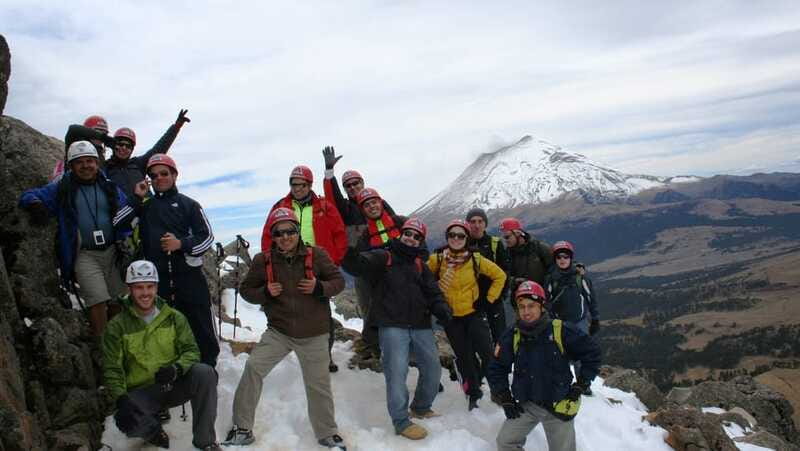
This climb runs as a small group, limited to 15 participants. That size hits a sweet spot. You get group management and safety without feeling like you’re in a crowd on a narrow trail.
The guiding has a consistent theme: patient support when altitude gets uneven. People adjusting to the climb do best with someone who helps you slow down and read your body rather than forcing everyone into one pace.
You might get guides such as Alberto or Sergio, and the common thread in the feedback is clear: the guides know the terrain, keep things organized, and focus on safe fun, not bravado.
That does not mean the hike is easy. It means the experience is more likely to feel controlled, even when your lungs protest.
What to Pack, and the Stuff That Prevents a Miserable Descent
The packing list is solid and worth following. Bring:
- Comfortable and supportive hiking shoes
- Sunglasses and sunscreen
- Gloves and rain gear
- Change of clothes, plus comfortable clothes for layering
- A towel
- Any cold-weather items you personally need for altitude hikes
I’ll add one practical thought based on what can happen in real conditions. If you tend to get lightheaded at altitude, plan your day like it’s already hard. Eat light before you start, sip water steadily, and treat the first steep bits as warm-up, not a race.
Also, there’s technical equipment included, and you’ll get a loan of a backpack. That helps reduce what you have to carry and helps you avoid showing up without the right items. Still, you should be ready to wear comfortable layers under the gear and avoid cotton that stays wet.
Altitude Reality Check, Steep Exposure, and Who Should Skip
This is not a sightseeing stroll. It’s steep, with exposure in parts, and altitude is real. One of the most honest pieces of feedback is that people can feel lightheaded, and some may feel sick during the day, especially on the way down.
So here’s how I’d decide if it fits you:
- If you have respiratory issues, a heart condition, significant back problems, or you are pregnant, it’s not suitable.
- If you get motion sickness or anxiety on exposed trails, plan for a conservative approach with lots of pauses.
- If you are new to high-altitude hiking, you’ll want to treat this as a learning day with a slower pace.
Your guide can help you pace, but you cannot out-guide physics. If your breathing is struggling badly, you will need to stop and reassess.
Bathrooms and the Small Comfort Details People Forget
One surprise on high-mountain days is the lack of facilities. Inside the national park portion, there can be no restroom facilities, even at the trailhead. Plan as if you will not have options where you want them.
So do the practical thing:
- Use any restroom stop you get before entering the park area.
- Bring your own toilet paper.
- If you carry your own trash, use a doggie bag for waste and pack it out.
It’s not glamorous advice, but it’s the kind that saves your whole day.
Final Thoughts, Should You Book This Iztaccihuatl Guided Climb?
I’d book this climb if you want a one-day plan that mixes big views with real mountain structure. The value is strong because you get transportation, guide, mountain fees, technical equipment, insurance, lunch, and gear support built into one price. You’ll also like it if you enjoy learning from a guide and seeing multiple sides of the volcano instead of hiking the same view for hours.
Skip it if you know you are sensitive to altitude, have a respiratory or heart condition, or you get uncomfortable with steep exposure. In those cases, the risk is higher and the payoff may not be worth it.
If you do book, show up prepared for altitude and take the guide’s pacing advice seriously. The best days on Iztaccihuatl are not about pushing hard. They’re about moving steadily enough to enjoy the view stops, reach the high point goal when it makes sense, and get back down feeling proud, not wrecked.
FAQ
Where is the meeting point for the Iztaccihuatl climb?
You meet at the corner of Vicente Suarez and Michoacan at the benches in front of the market at Mercado Michoacán.
How long is the tour and what is the travel time like?
The tour runs for 1 day. You’ll have about 2 hours by van, then about 7.5 hours on the mountain portion, about 1 hour for lunch, and another 2 hours by van to return.
How much does it cost, and what’s included in that price?
The price is $214 per person. It includes transportation, a guide, mountain fees, technical equipment, lunch and food, insurance, and a loan of a backpack.
Are alcohol drinks included?
No, alcoholic drinks are not included.
What languages are the guide tours offered in?
The live tour guide is available in English and Spanish.
What should I bring for the climb?
Bring comfortable hiking shoes, sunglasses, sunscreen, gloves, rain gear, change of clothes, a towel, and comfortable clothes. The tour also mentions using hiking shoes.
Is this tour suitable for everyone?
No. It is not suitable for pregnant women, people with back problems, people with heart problems, or people with respiratory issues.
Just added around Mexico City
- The Real Mexico City: Under the skin of CDMX★ 5.0 · 21 reviews
- Teotihuacan Pyramids: Guided Tour with Entry Ticket Included★ 4.1 · 45 reviews
- Teotihuacan: Private Tour with Archeologist & Hotel Pick-up★ 4.2 · 164 reviews
- Teotihuacan, Guadalupe, Xochimilco Coyoacan & Frida Kahlo★ 4.0 · 27 reviews
- Soumaya: the greatness of Mexican & western art.★ 4.9 · 26 reviews
- From Mexico City: Puebla and Cholula Day Tour★ 4.2 · 194 reviews
- National Museum of Anthropology: a journey into Mexico’s past – English lang.★ 4.8 · 26 reviews
- Nevado De Toluca: Reach the Summit with Professionals★ 4.8 · 250 reviews
Guided, compared.
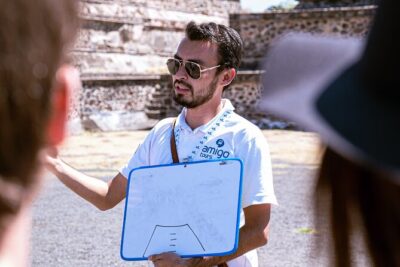
Teotihuacan Early Access Guided Tour with optional Lunch
Read our review →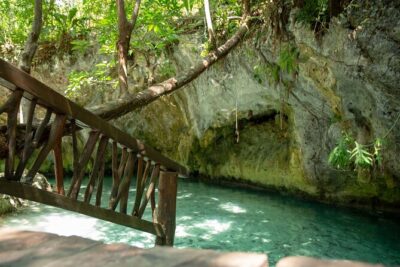
Tulum Ruins and Cenote Guided Tour, from Cancun
Read our review →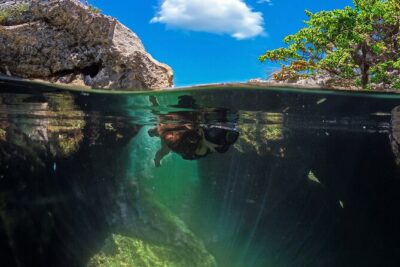
Tulum Guided Tour, Magical Cenote, Lagoon Snorkeling and Beachside Lunch
Read our review →

4-in-1 Cenote Tour Guided Experience with Breakfast, Lunch & Wine
Read our review →
Chichen Itza: Guided Tour with Valladolid & Cenote Chichikan
Read our review →
6-Hour Guided City and Cruise Tour of Los Cabos with Lunch
Read our review →Browse the lists this tour appears in